About a week before my wedding, I had a thought. What was I going to do with my bouquet flowers when the wedding was over? Although it was never anything I considered a priority, all of a sudden, I thought it might be nice to have my bouquet flowers pressed and/or otherwise preserved.
I contacted our florist for recommendations for flower preservation companies. She recommended two. One specialized in preserving the entire bouquet as-is, while the other specialized in pressing the flowers and displaying them in frames.
After taking a look on their websites at what they had to offer, I definitely liked the pressed flowers, from an aesthetic standpoint, a lot better. I contacted the pressed flower company, along with some other similar companies. After they provided estimates, I realized that flower preservation would be a very, very expensive thing to do. Somewhere in the range of $600-$750 to press my wedding bouquet flowers and have them preserved.
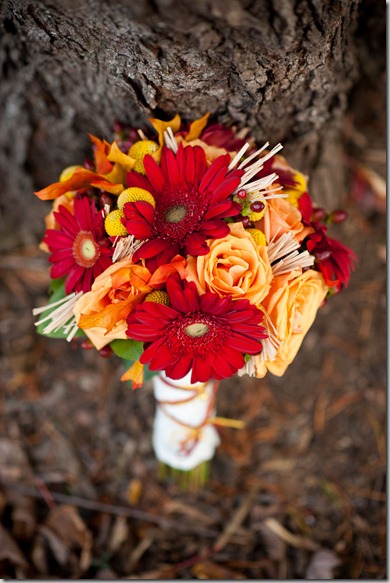
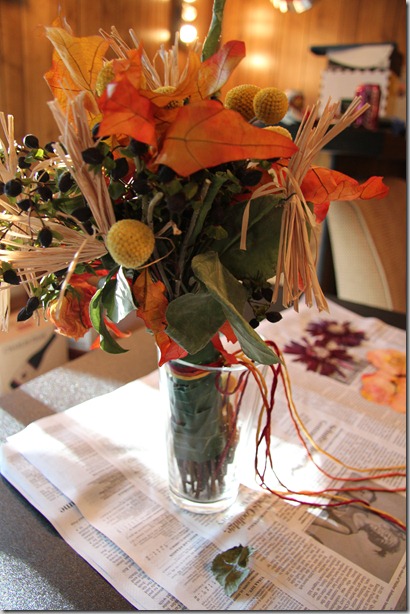
As a reminder, this is what my bouquet looked like:
Flower Preservation Techniques
So, I did what anyone does nowadays to make themselves knowledgeable on a particular topic. I Googled and Yougled (it’s the term I’m using for searching YouTube. Use it, let’s see if it catches on) flower preservation techniques, including here, here and here.
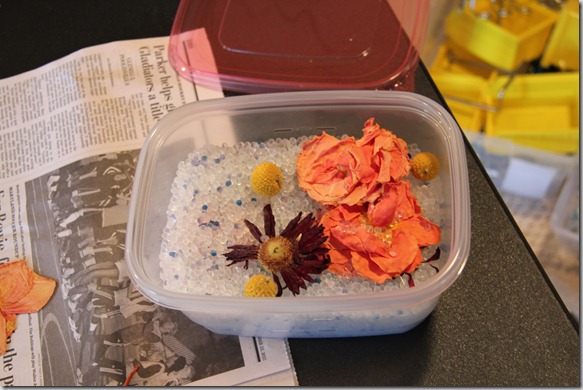
I opted to try the silica gel drying technique, the modified phone book pressing technique, and upsidedown-drying technique (I wanted to use three separate methods in case something went dreadfully wrong with one of them and ruined my flowers). I ordered some silica gel from Amazon so that it would be delivered to our house by the time we got back from the wedding.
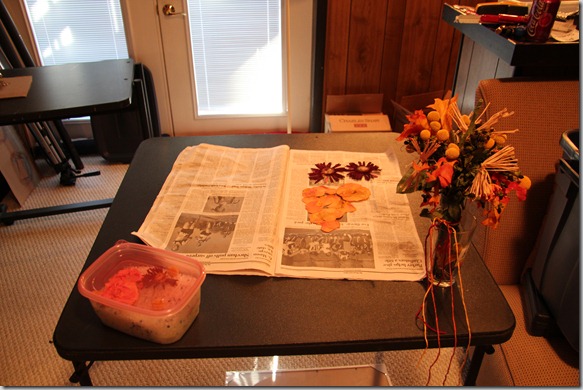
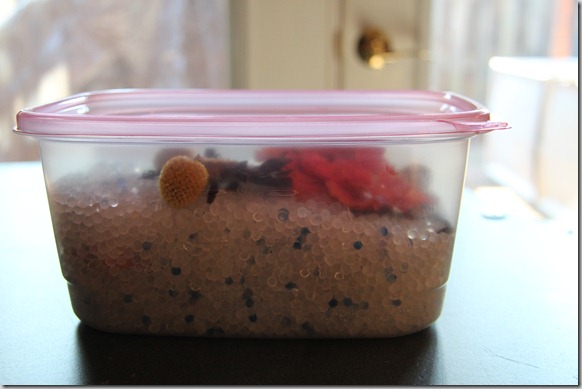
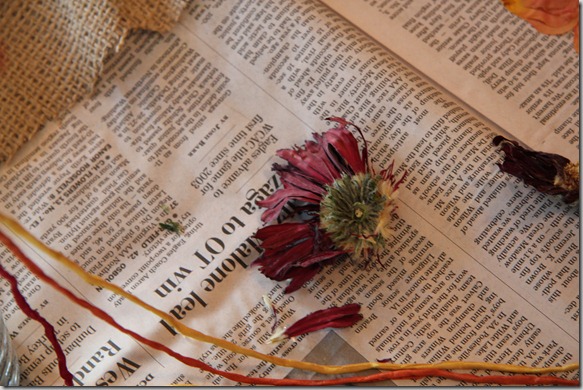
I stored my bouquet in the commercial refrigerator at our wedding venue the night of the wedding, since we didn’t have to check out of the venue until the next day. Then, after we checked out and got home the day after the wedding, I clipped about half of the buds from my bouquet. Of that half, I put some of them in a gladware container of silica gel, and the rest in between pieces of newspaper. Then I placed a very heavy book below and on top of the folded piece of newspaper. The remaining half of the buds I left on the bouquet to air dry naturally. (My apologies to my readers, but I didn’t photograph the process that day. I was just too exhausted an in a hurry to get started with the preservation stuff).
About eight weeks later, which incidentally, was just about three weeks ago, I decided to check on the flowers in the silica gel and newspaper.
Wedding Flowers as Art
Looks good, right? But really, what do I know. I was ready to get started with a framing project for my wedding flowers, partially inspired by an art display over at Young House Love.
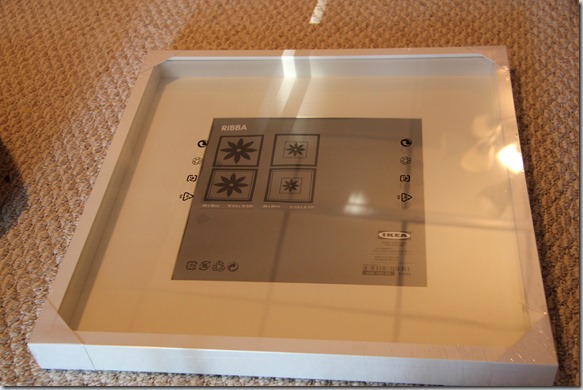
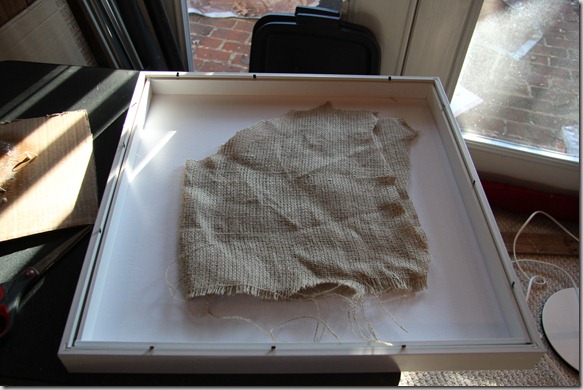
I purchased six of these 19 3/4 x 19 3/4” Ribba frames from Ikea
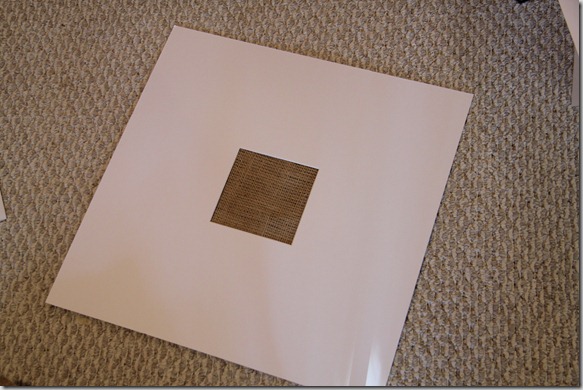
But, I wanted the matting for my project to have a much smaller opening. So I ordered separate custom-cut mats from Wholesale Matboards with a small 5×5” opening so that the pressed flowers would have a much more dramatic look. The flowers would be mounted on leftover burlap fabric from the wedding.
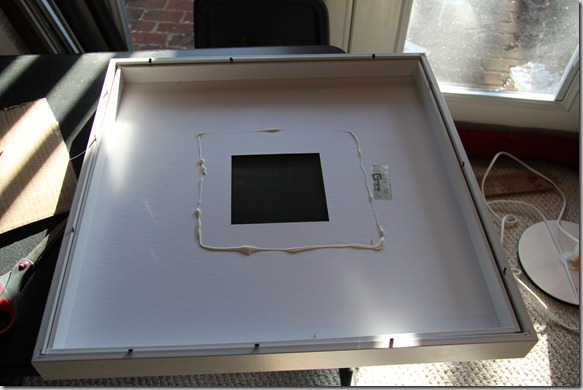
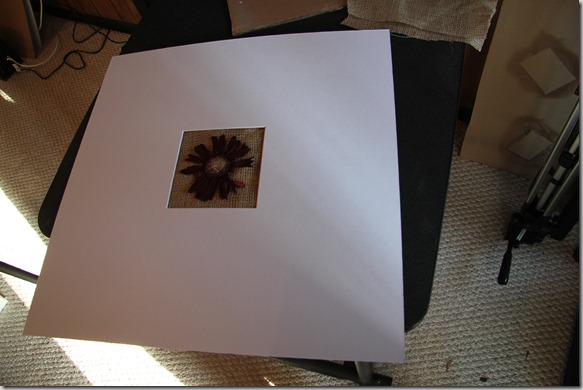
I put a bead of hot glue all around the back of the custom mats:
Then pressed a small cut of burlap onto the glue
So when I turned the mat over, it looked like this. (Strangely enough, the berber carpet kinda looks like burlap texture too!)
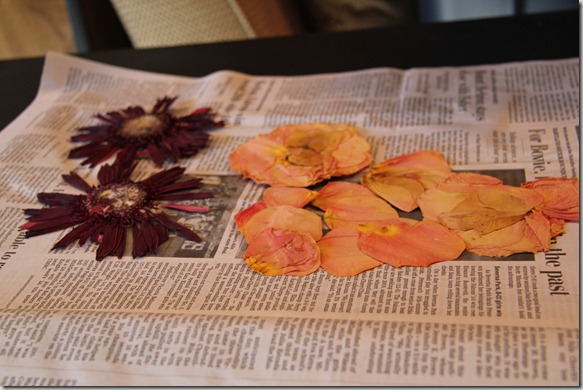
Then it was time to check out how my dried flowers fared. *Spoiler alert: Gerber daisies do not dry well in silica gel.* As you can see, the petals of the gerber daisy just completely fell off when I tried to take it out of the silica gel. But, the craspedia and tea roses looked great. And not to worry about the gerber daisies, I still had other ones that I had dried using the newspaper pressing technique.
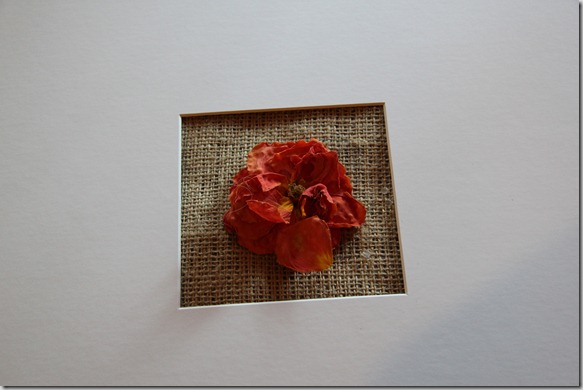
First up, using a hot glue gun, I glued one of the tea roses to the new burlap-backed mat: (Don’t mind the little pieces of silica. I brushed all those away)
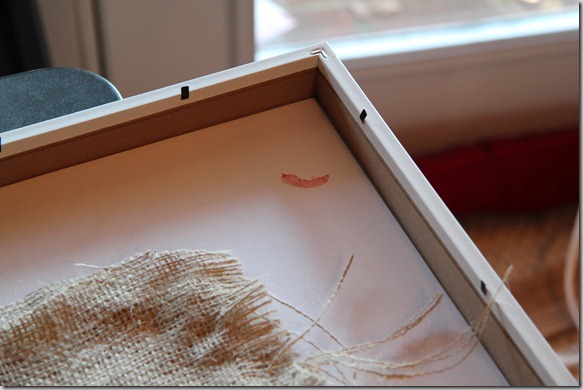
At some point, without even realizing it, I cut myself, and my finger started bleeding, and I bled right onto the back of the matting. So, take caution kids, DIY flower preservation can be dangerous. Or, perhaps I’m just a klutzy doofus. Yep, that’s blood (just happy it got on the BACK):
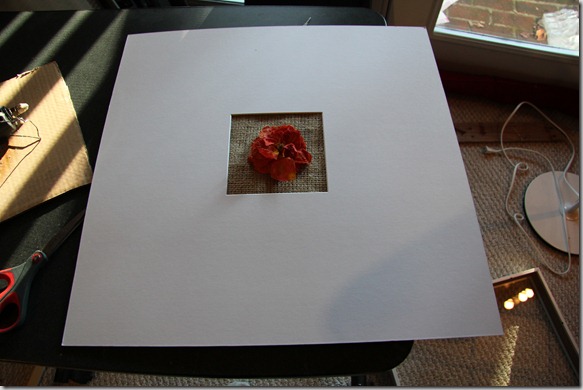
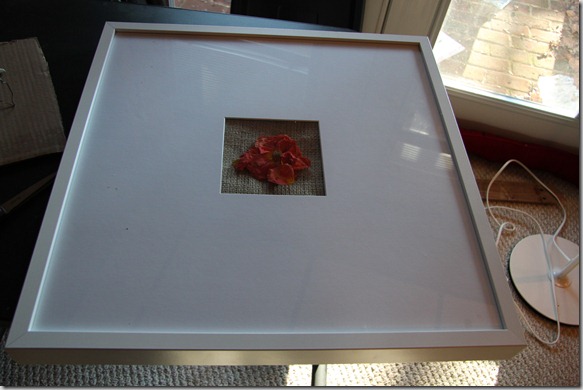
And this was the (almost) finished product (I later changed it to have a more “shadowbox” effect. More on that later).
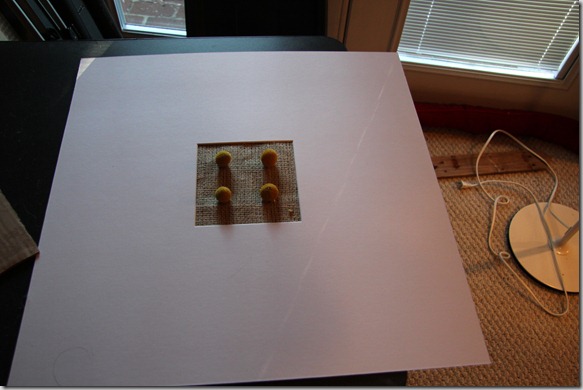
I repeated the process for other elements from my bouquet, including the gerber daisies and craspedia (pictured below), as well as the autumn leaves, raffia, and berries (not pictured until later). The gerber daisy was looking a bit bald, so I took other petals from another daisy and filled in the bald spots.
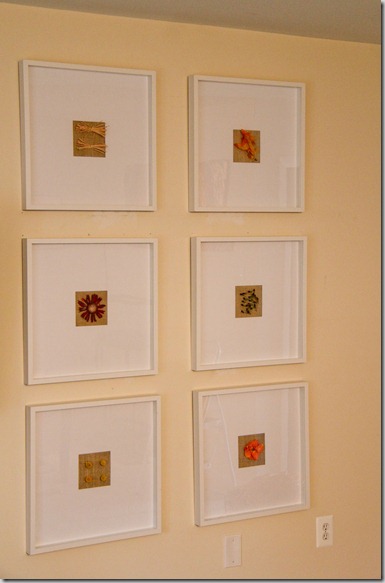
The finished products
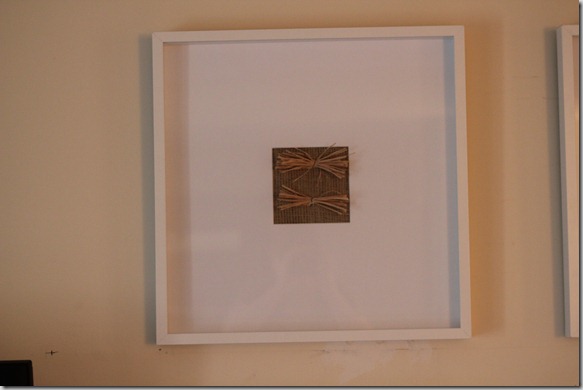
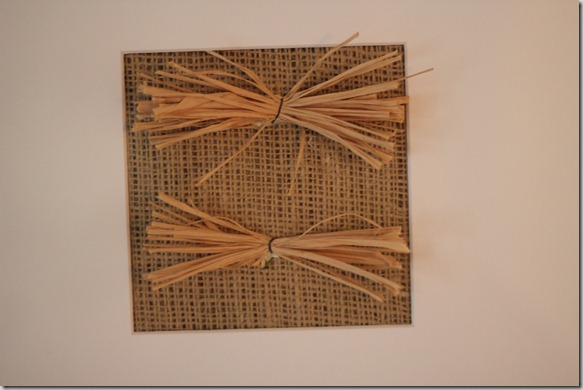
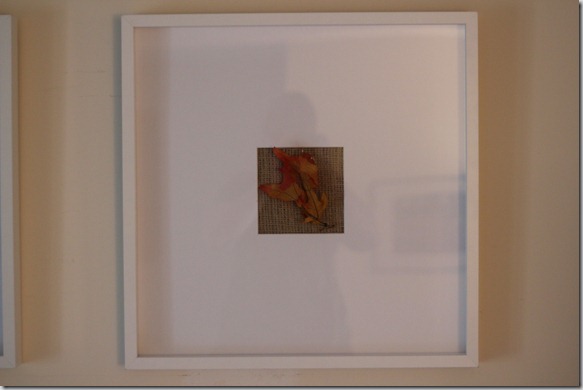
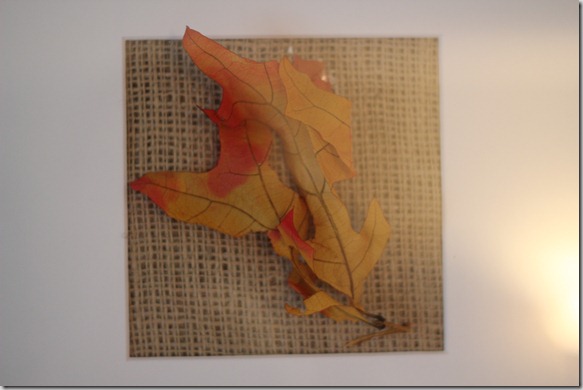
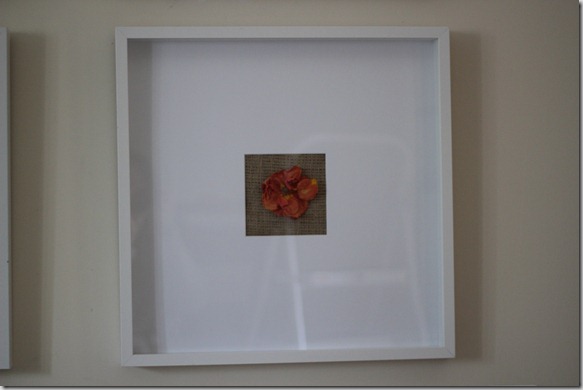
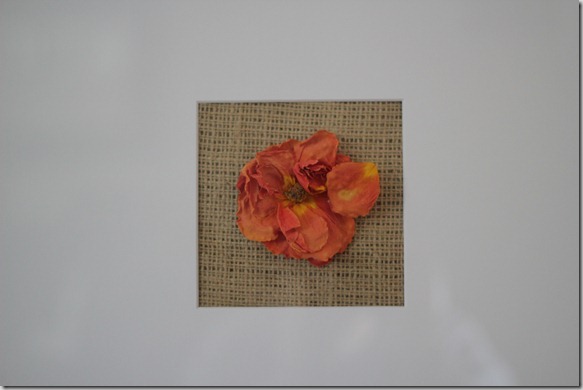
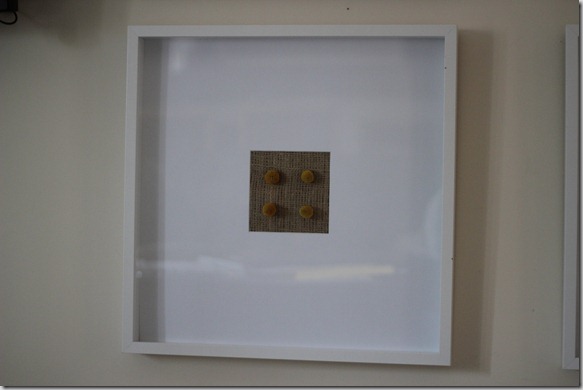
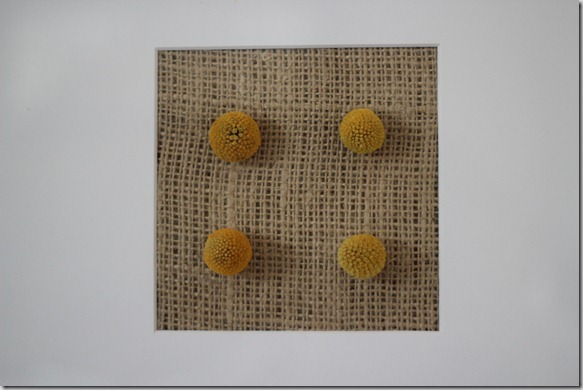
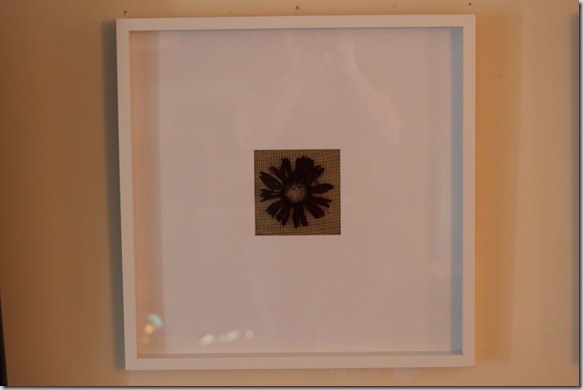
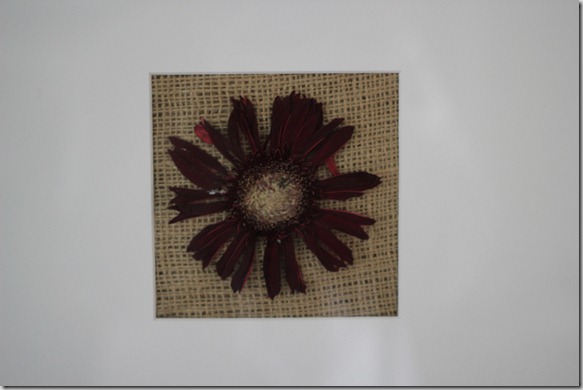
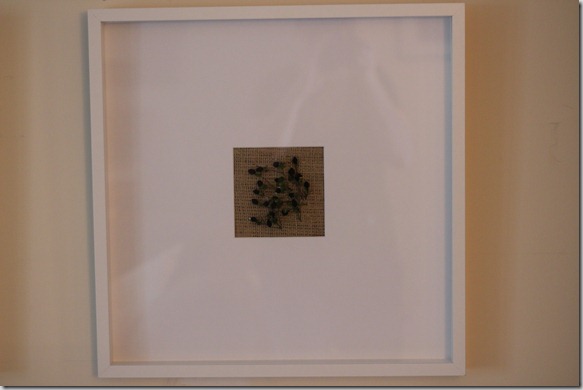
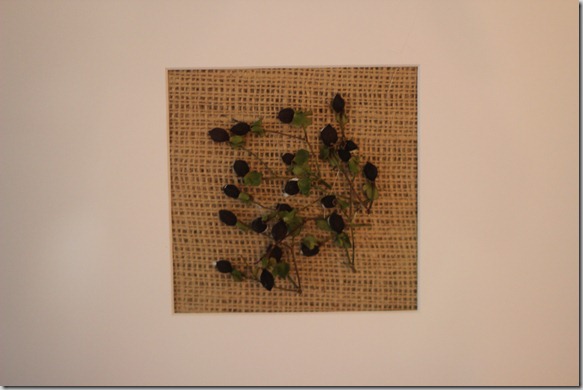
These are the finished products, from a slight distance, and then very close up. Please forgive the crappy lighting. It’s the downside of living in a middle unit townhome … limited windows. Also, note how the frames now have the “shadowbox” look, instead of how the tea rose was pictured above very close to the glass in the frame.
The raffia
Some raffia was included in my bouquet, so I just cut off the green floral wire “stem” and left the very top part.
The leaf
The tea rose
I used the silica dried tea rose since it retained a nice three dimensional shape, unlike the newspaper-pressed tea rose, which just looks like a bunch of flattened petals.
The craspedia
The gerber daisy
Note how I added a few additional petals to make it look less bald than as it was pictured above.
The berries
These definitely shriveled and aren’t exactly the most gorgeous things in the world, but I still decided to display them as well.
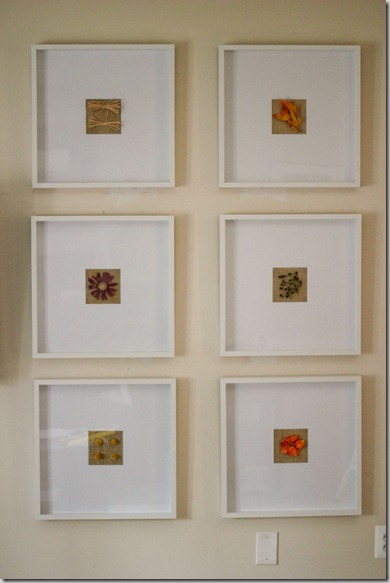
All together now!
Final thoughts
I was so insanely pleased with how these turned out! I’m a bit of a klutz, so I did get blood on the back of the mat with the tea rose, and I probably could’ve been a bit more careful with the hot glue gun, since a small amount of glue is visible on like the berries and raffia, but it’s not even noticeable unless you have your nose pressed up against the glass.
I’m glad I opted for multiple drying techniques, especially since the silica destroyed the gerber daisies, and I didn’t like how the tea roses looked after using the newspaper pressing technique. Although to be fair, the gerber daisies dried using the newspaper pressing technique were also very fragile. The colors definitely changed, especially the color of the gerber daisies and the berries, but I’m okay with that. Just something to be aware of. The berries also shriveled considerably.
Grand total cost for the project? Approximately $149. The six frames were $19.99 each, and the custom size mats were $4.85 each. I already had the burlap and hot glue. And, this could’ve definitely been done even cheaper if you’re on a tighter budget. For instance, I could’ve used smaller frames which were less expensive, and just used the existing matting.
This DIY saved me a bundle! Those $600-$750 estimates I had received were for just one or two frames MAX, so I could only imagine how much a six-frame preservation project would’ve cost me!
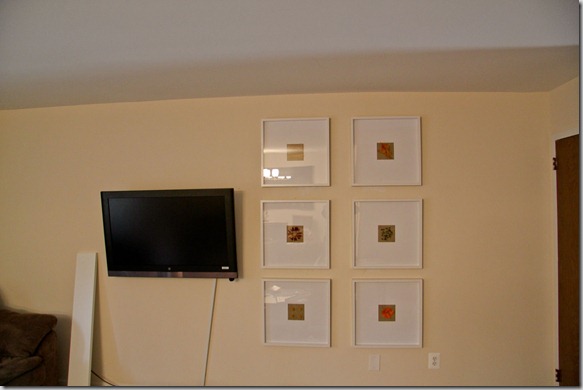
I love that these are now displayed as art in our home as a great reminder of our wedding!
Another great thing is that I still have a bunch of dried flowers left! Now I just need to figure out what to do with those! In the meantime, I think I’m just going to put them in a small jar and then have the jar on display in the house until I think of something else to do with them.


