I initially didn’t want to have assigned seating at our wedding, but once we made the decision to have table assignments, I wanted to have a fun way of displaying our escort cards. I took the inspiration for this project from Martha Stewart. (On a side note, now that we have created our actual seating charts, it took about, oh, 30 minutes. That was not what I expected!)
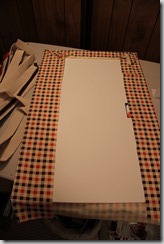
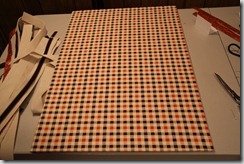
I started with two blank pieces of 20×30 white foam core and arranged some autumnal fabric on it that I purchased from Joann’s (this is it from the back)
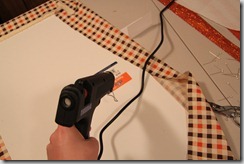
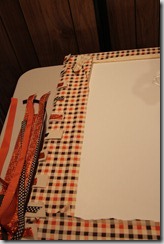
First, I pinned the fabric in place to make sure it was straight and even. Initially I was going to use only pins, but they jutted out too much in various places of the foam core, and since I didn’t want any guests getting stabbed with pins, I took the plunge and bought a hot glue gun and some fabric glue sticks. Here it is with the pins (which I put all around the perimeter).
Using a checkered fabric presented its own issues. For one, it was kind of difficult to make sure that the fabric didn’t look crooked. So, it took some time, but I made sure everything was nice and straight and crease free.
Then it was time to glue the fabric to the foam core. Without taking out the pins yet, I glued the fabric edges to the back of the foam core.
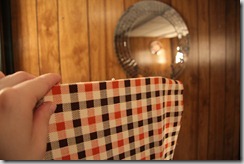
When I turned the foam core over, it looked like this. I let the glue dry for a while, and then I took out the pins.
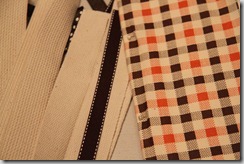
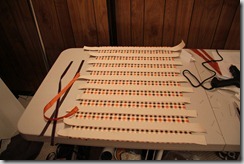
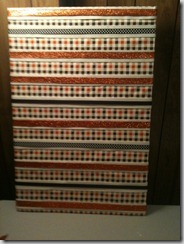
Next, it was time to add the ribbon to the fabric on the foam core. The escort cards would then sit on the ribbon. Before gluing any ribbon, I just laid it out across the fabric to make sure everything would be nicely spaced and aligned. Here’s the first layer of “ribbon,” which is actually webbing:
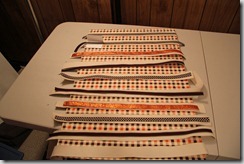
And then alternating ribbons of various browns and glittery orange on top of each webbing strip. I purchased both the ribbons and the webbing from Joann’s too.
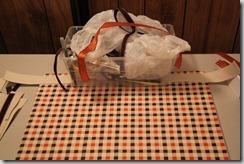
Next, I glued the webbing strips to the fabric and put something heavier on top of it to make sure it stayed (in this case, a messy bin of sewing supplies).
Next, I glued the ENDS ONLY of the narrower ribbon to the webbing strips. Sorry, I don’t have a photo of this step. Then, I flipped the board over, and glued the ends of the now combined webbing/ribbon to the back of the foam core:
In the end, I ended up with a escort card display board that looked like this! I repeated the entire process one more time to make another escort card display.
In a future post, I’ll show you how I actually displayed the escort cards on the board (here’s a spoiler, after some trial and error, I opted for a slightly different look than the Martha Stewart escort cards in the inspiration.
